¶ CREATING A SURVEY
The “My Surveys” button is located next to the “My Databases” button in your personal account (Fig. 1).

Figure 1 - “My Surveys” button
The “My Surveys” section contains slots for surveys. You can either create a new survey yourself or upload it from a file by clicking the appropriate button (Fig. 2).
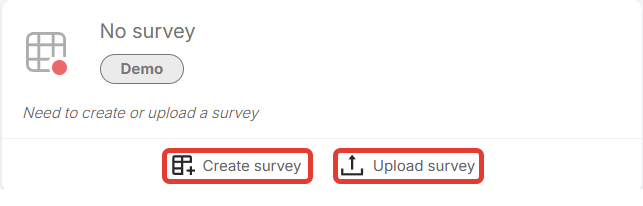
Figure 2 - “Create Survey” and “Upload Survey” buttons
After clicking the “Create Survey” button, a survey form will open, consisting of three sections: “Settings,” “Questions,” and “Answers.” The “Settings” section contains a block with the name of the survey, the option to describe the questionnaire, and a function to save the questionnaire to a file (Fig. 3).
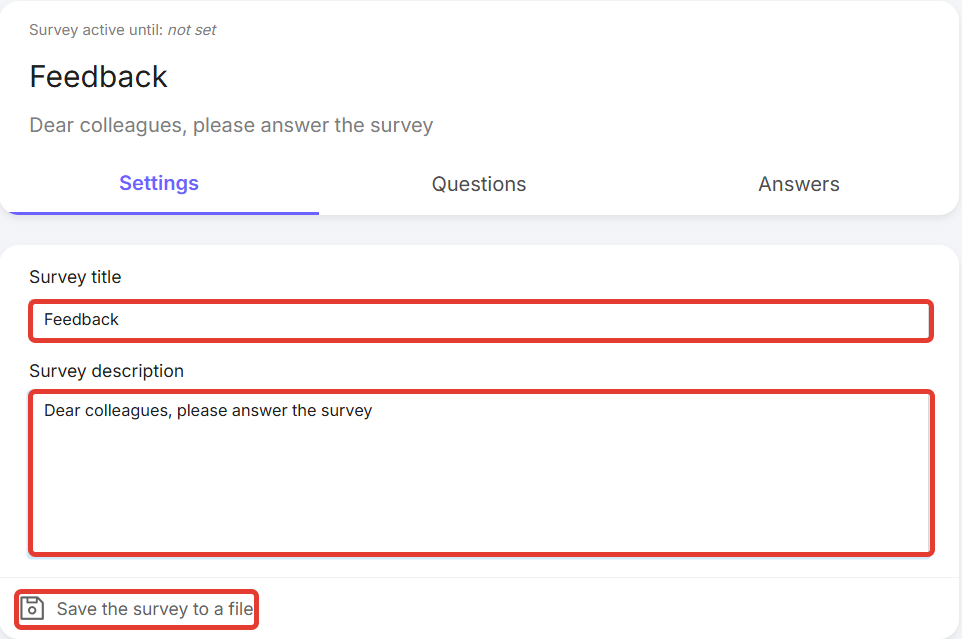
Figure 3 - “Settings” section in the questionnaire
The “Questions” section allows you to create questions by clicking on the corresponding button (Fig. 4).
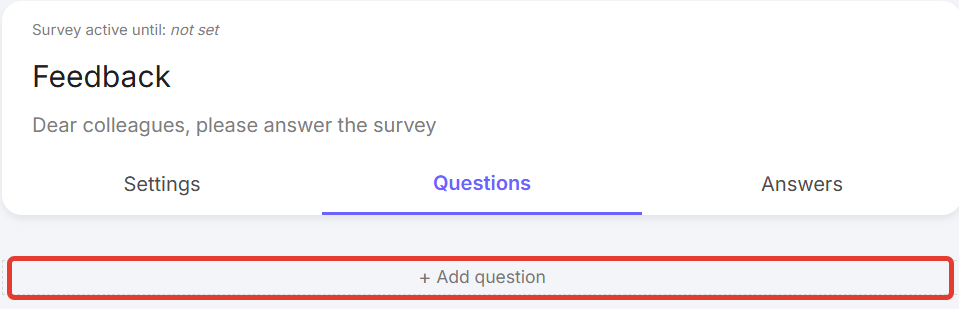
Figure 4 - “Add question” button
After clicking on the button, a form for creating a question will open (Fig. 5).
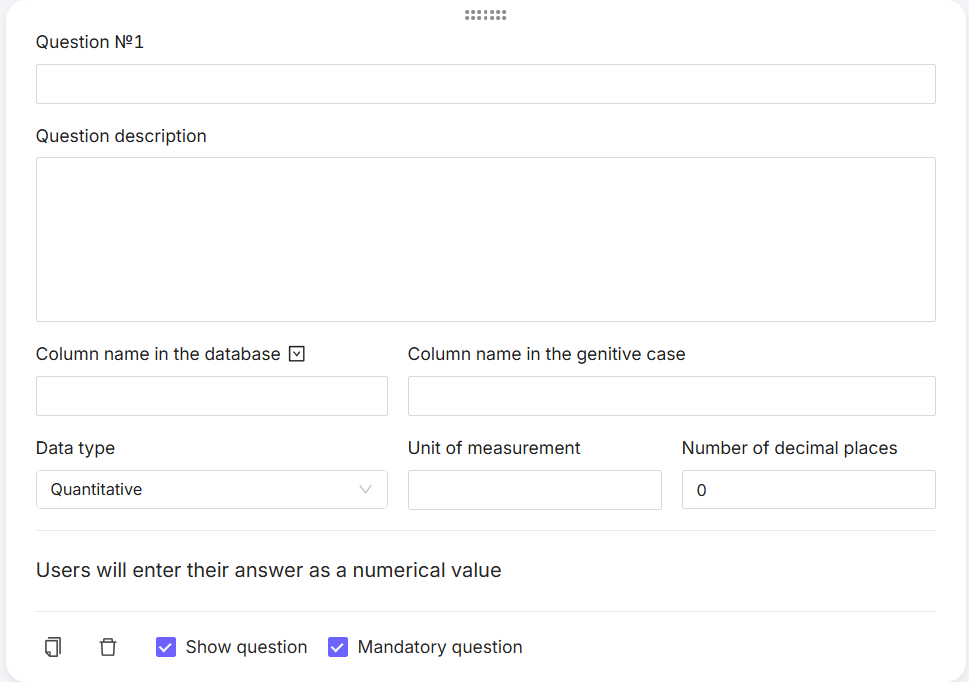
Figure 5 - Form for creating a question
Write the question in the top line. In the “Question description” field, you can provide a detailed explanation/description of the question. In the “Column name in the database” and “Column name in the genitive case” lines, fill in the information as you want it to appear in the analysis. In the “Data type” field, specify the type depending on the question. For example, if the answer implies a number, then it is a quantitative data type; if the answer needs to be selected from a set of options, then it is a categorical type; if the answer to the question implies a date, then the data type will be a date. Examples of filling out the question form are shown below (Fig. 6, Fig. 7, and Fig. 8).
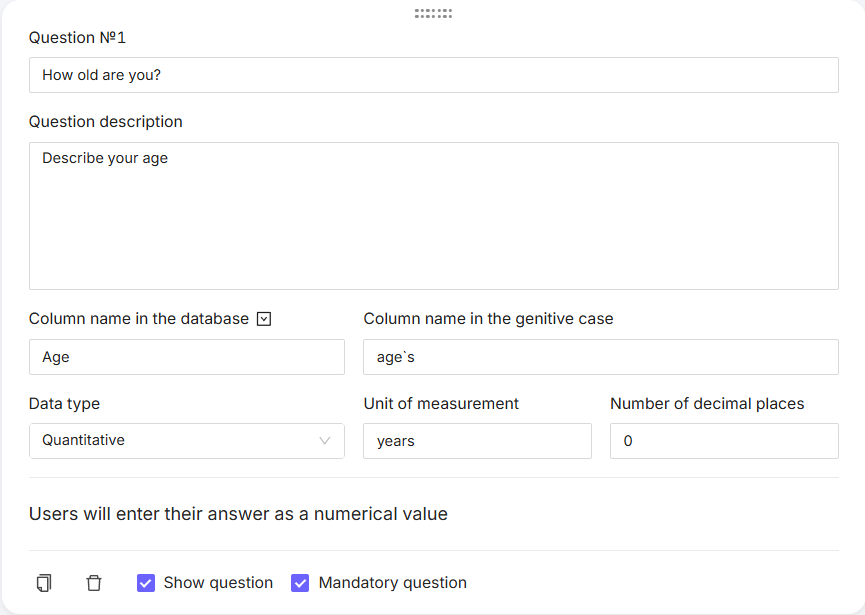
Figure 6 - Example of creating a question with answers in quantitative data type format
The icon  at the bottom of the question allows you to delete the entire question, and the icon
  allows you to copy it. Unchecking the “Required question”
  or “Show question”
  allows you to not answer or not show this question, respectively.
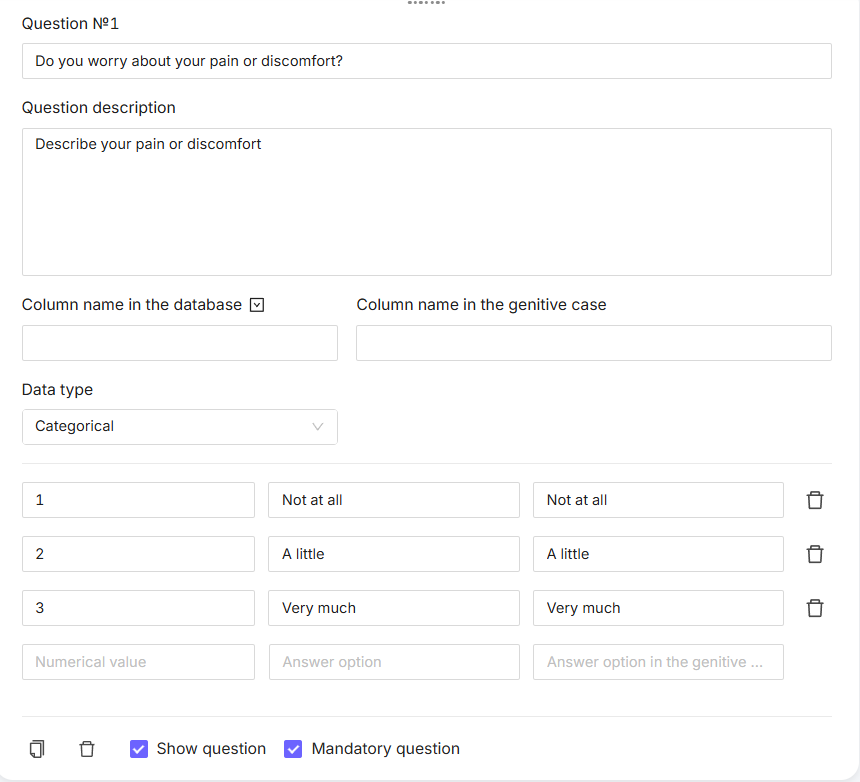
Figure 7 - Example of creating a question with answers in a categorical data type format (with answer selection)

Figure 8 - Example of creating a question with answers in a date format
The “Answers” section displays a counter with the number of answers, answers uploaded to the database, and answers awaiting upload. This section also contains the “Accept answers” function, which activates the questionnaire (Fig. 9).

Figure 9 - Answer counter and “Accept answers” function
This section contains the “Share survey” function. You can share either a link to the survey or a QR code (Fig. 10).

Figure 10 - “Share survey” function
The “Upload responses to database” function allows you to upload responses to an existing database in StatTech or to a new database slot, or download responses to MS Excel (Fig. 11).
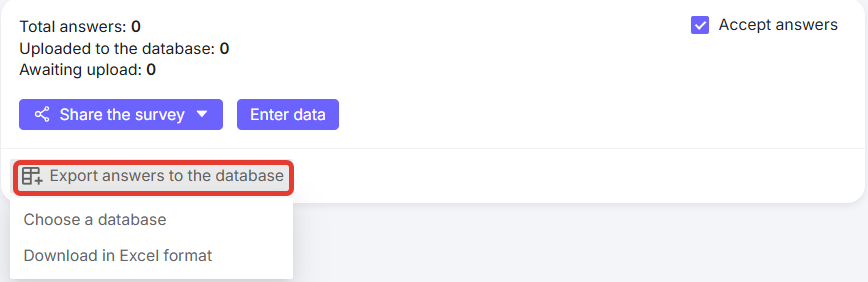
Figure 11 - “Upload responses to database” button
When you click the “Download in Excel format” button, the questionnaire will be uploaded to Excel tables, where the column headers will contain the data written in the “Database column name” row. When you click the “Select database” button, a window will open with a selection of database slots. After selecting an empty slot, click the “Add” button (Fig. 12).
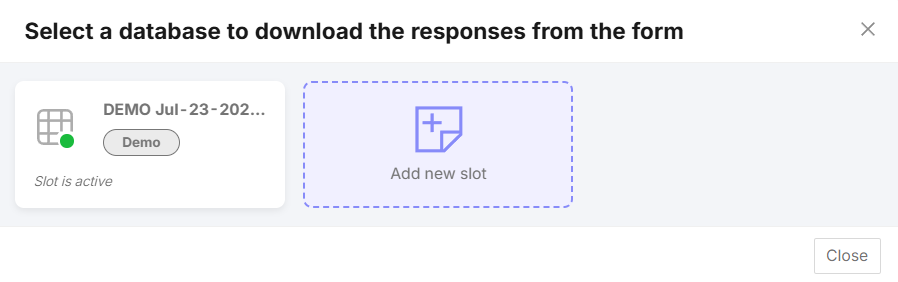
Figure 12 - Functionality for uploading responses to the database
When selecting a database slot that already contains data, click the “Replace” button. The old database from the slot will be moved to the trash and can be restored within 30 days (Fig. 13).
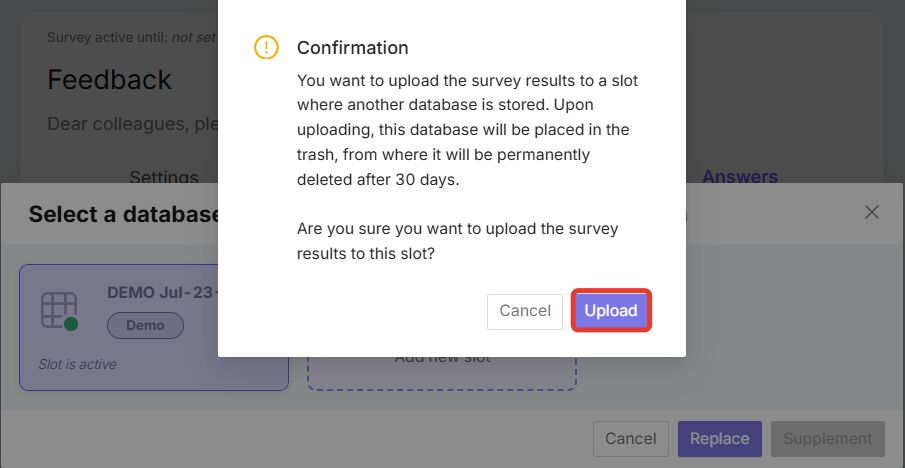
Figure 13 - Confirmation of uploading responses to the filled database